Schilling & Sons: Pinblock work
Category: Shop WorkDate: 2020-07-20
As noted in the previous post, the pinblock in this piano had separated from the back posts. Previously, a repair had been attempted by boring through the pinblock and bolting the block to the back posts. While the piano was unstrung, I used the existing bolts to close the gap further, and then inserted low-viscosity epoxy into the gap for a solid composite construction.
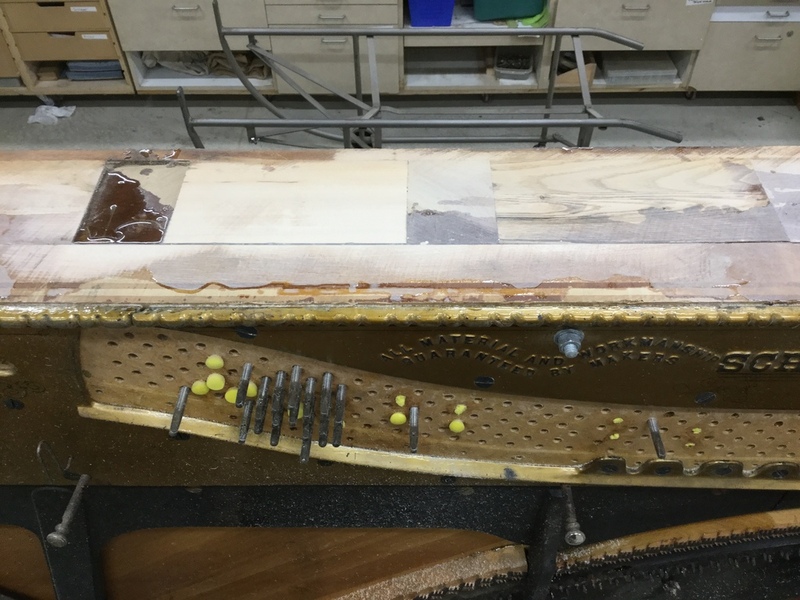
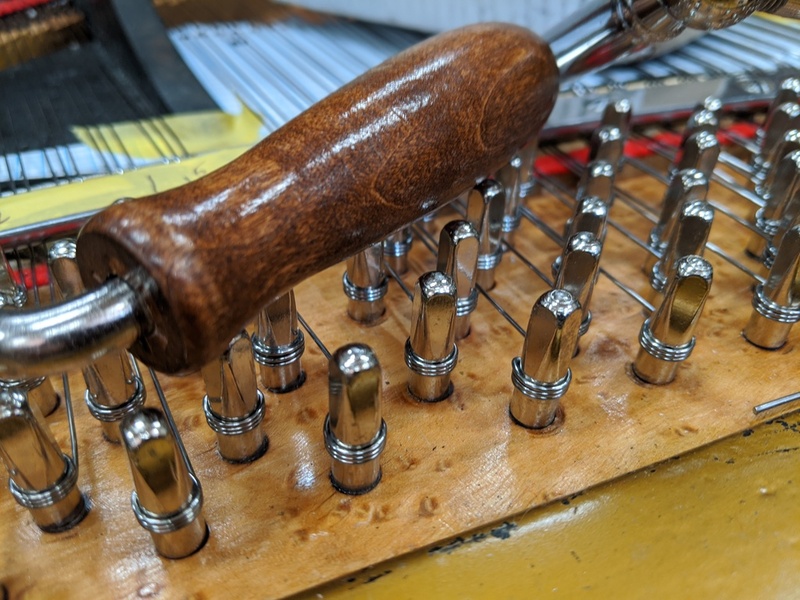
This was the first time for me to do this procedure, and a bit of a learning experience, because epoxy ran in directions I did not anticipate. While working at the back of the piano and monitoring drips there, I did not anticipate epoxy running out through the tuning pin holes. The photo below shows my corrective actions after discovering the mess. I first inserted ear plugs, then realized that the old tuning pins would also stem the flow.
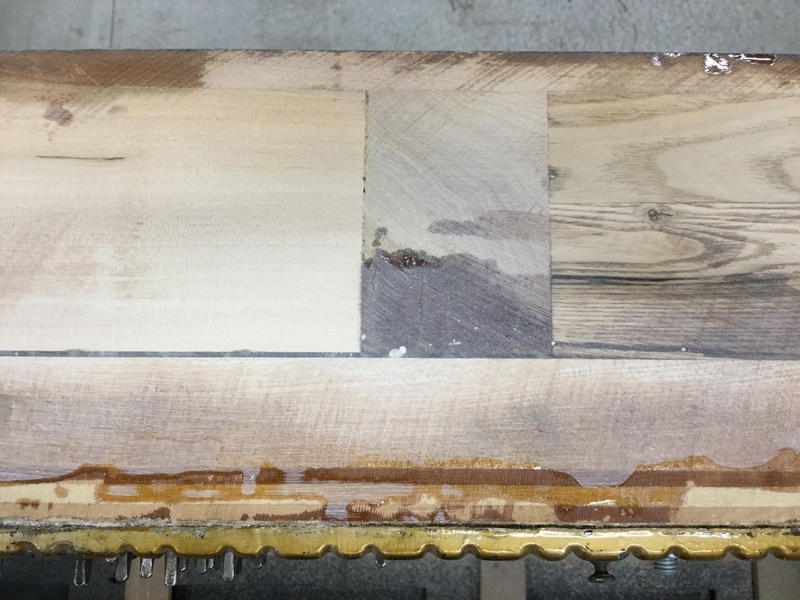
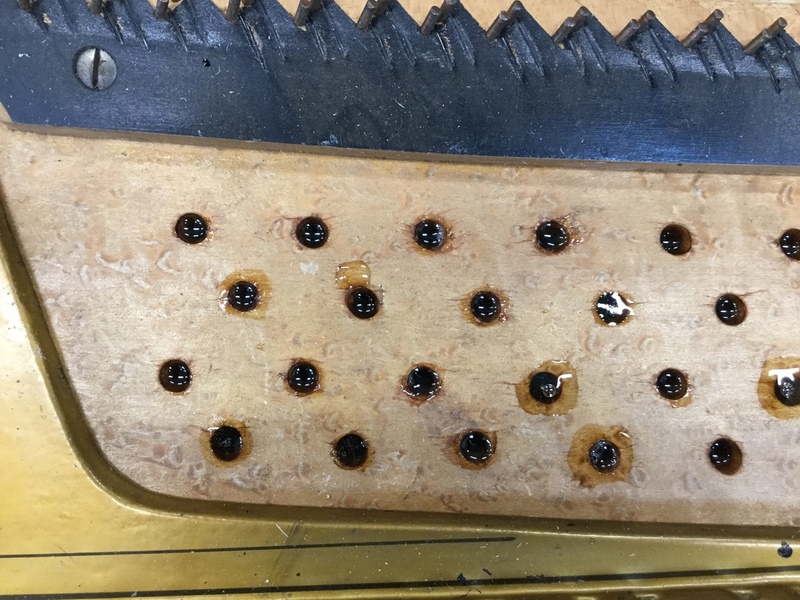
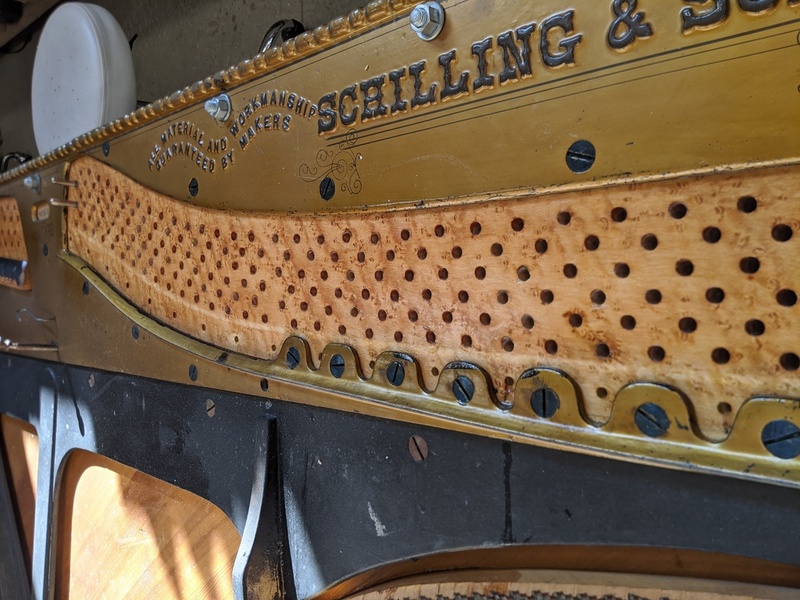
The epoxy flowing through the tuning pin holes wasn’t really a big issue, since it was my intention to restore this pinblock by filling pinblock holes with epoxy and then re-boring. This also was a process I had not previously used. In theory this will result in tight fitting pins of uniform torque, without resorting to oversized pins — or replacing the pinblock. I’m pleased to be using this technique for this piano, since I’ll be seeing the piano regularly in the future: this is an unpaid project for the family. I feel free to experiment! The photo below shows the pinblock with this epoxy fill complete.
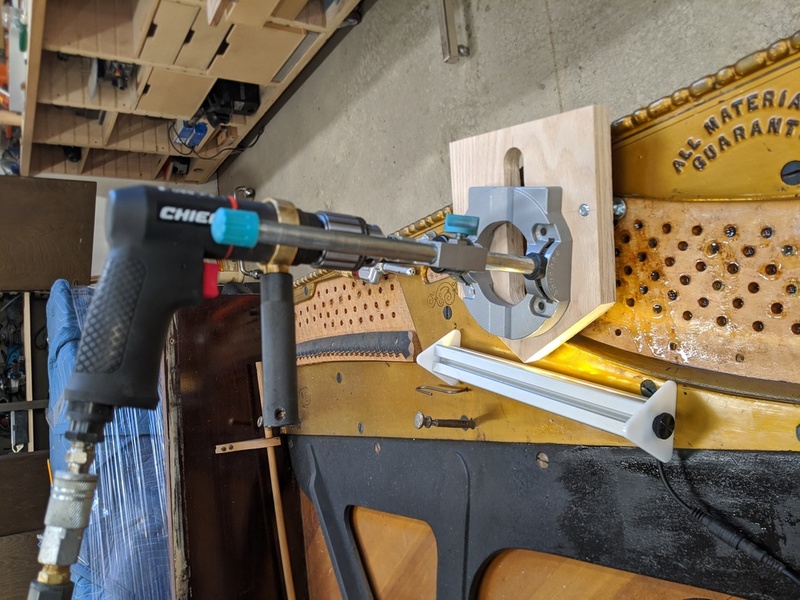
Following the fill of epoxy, I let it cure for a week before reboring. To achieve uniform results, I chose to use a double-boring technique. Initially, I bored with a 1/4″ drill bit (0.250″). Within that process, it became clear that double boring was a good idea. The epoxy was brutal. While boring the 200+ holes, the drill bit was good for 15 to 20 holes, and then required re-sharpening. The photo below shows my setup for boring at a uniform 7 degrees.
After the initial boring, the pinblock was sanded and re-lacquered. Final boring was done with a letter J drill bit (0.276″). This boring was very smooth and easy-going. I completed these bores freehand just following the initial bore. Number 2 tuning pins were tested in the first two bores with good results: smooth turning pins with 120 1b-in of torque. I’m encouraged by the result. I’ll know more later!
Commments
I welcome your comments. You do NOT need to sign in to leave a comment, but if you create an account and sign in, my comment system will notify you of replies to your comment. Thanks for stopping by.--Duane McGuire