Schilling & Sons: Case repair
Category: Shop Work, Case RepairsDate: 2020-07-20
Amateur movers frequently damage the lower corner of upright pianos. Shown here is my approach to repairing this damage on the Schilling and Sons piano.
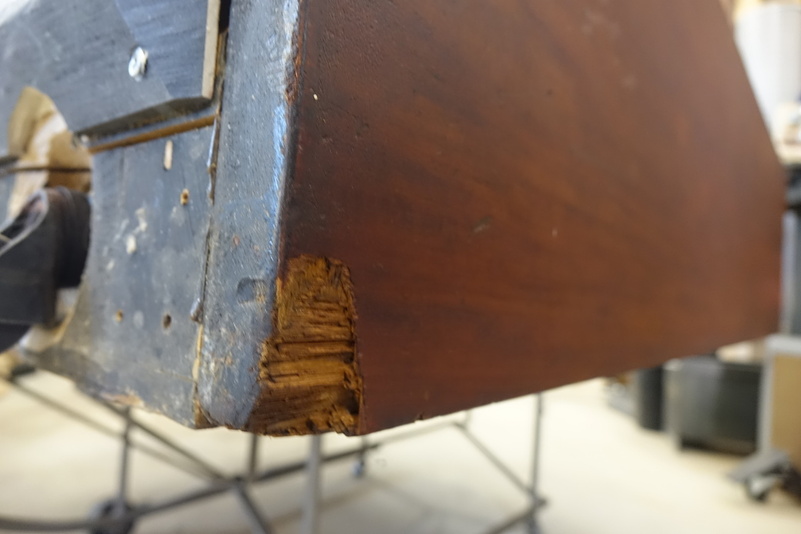
The starting point. Typical damage to an old upright piano from amateur movers. Orientation - piano is laid on its back on a piano tilter.
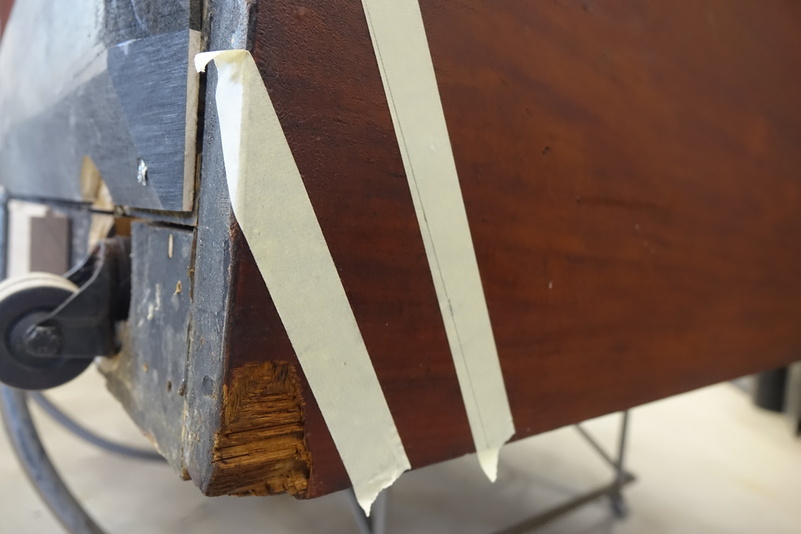
The left tape shows the area that will be cut out for in-fill. The parallel pencil line on the right tape shows where the router guide will be clamped to achieve the cutout as marked.
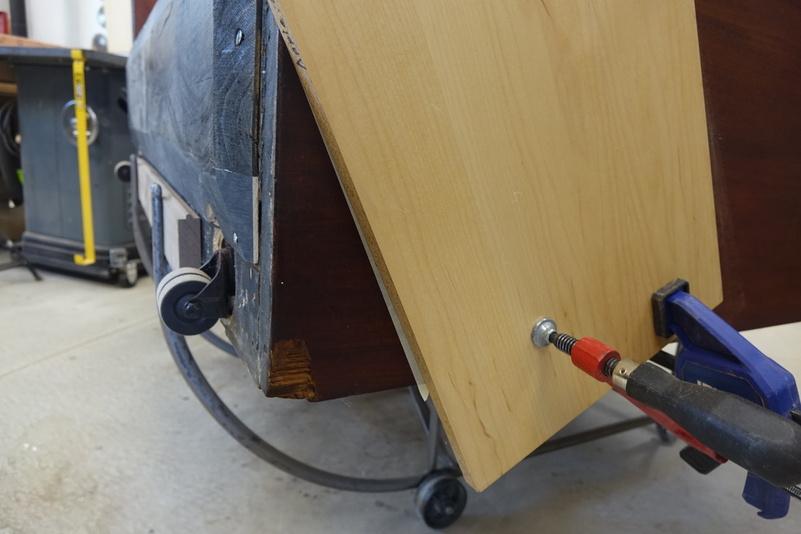
The router guide is clamped to the case side. I'll use a 3/4" straight cutting bit. The outside cuts will be made with care, assuring that the router base is flat against the case side. This is the tricky part, since their isn't as much surface for the router base there. The cut next to the guide is done from top to bottom (left to right). This assures that the rotation of the bit is pulling the router base into the guide rather than pushing it away. Thus we get a clean straight cut.
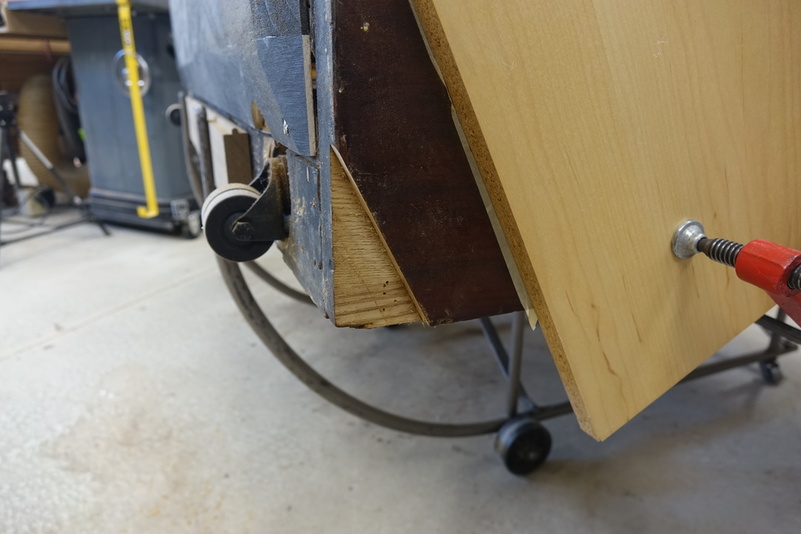
The area after routing. Multiple passes at increasing depth were made to maintain careful control.
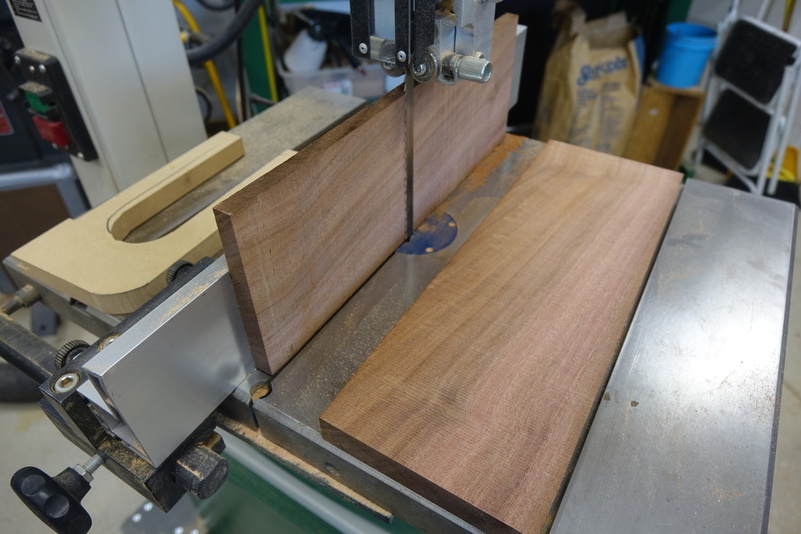
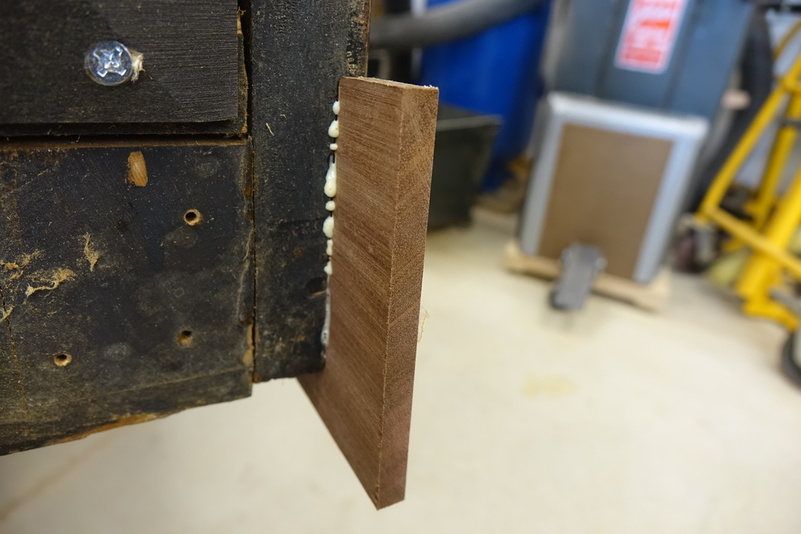
This repair could be made with any hardwood base and a suitable veneer face on top. I had some nice mahogany hardwood, so I decided to do it without veneer, but solid wood instead. Here shows how the stock was re-sawn on the bandsaw. The recess cut in the piano side was approximately 11 mm. I setup the bandsaw to cut approximately 13 mm. Thus I had a comfortable excess for thickness sanding to final dimension.
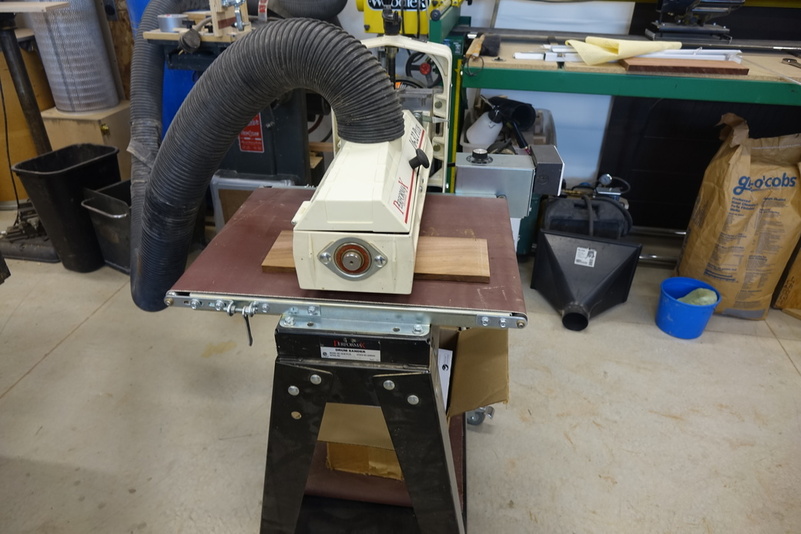
The Promax thickness sander. I did not measure the actual thickness, but with successive passes I compared the thickness of the board to the recess in the piano side. The fingers know flush! Within a couple thousandths of an inch.
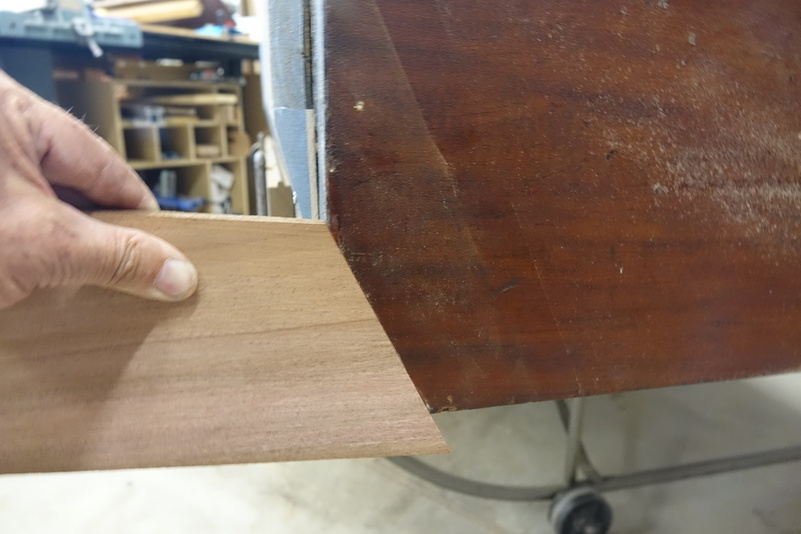
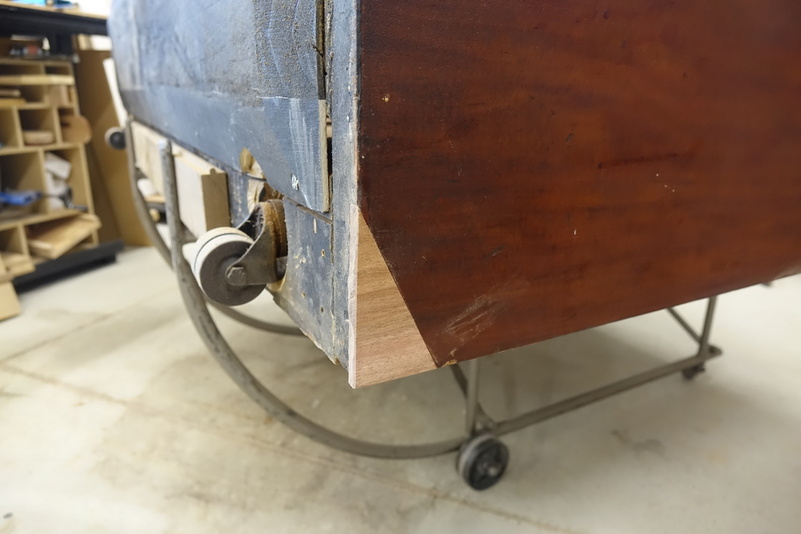
After creating a straight cut on the table saw, grain is matched to the extent possible. Note that the darkest grain lines up pretty nicely.
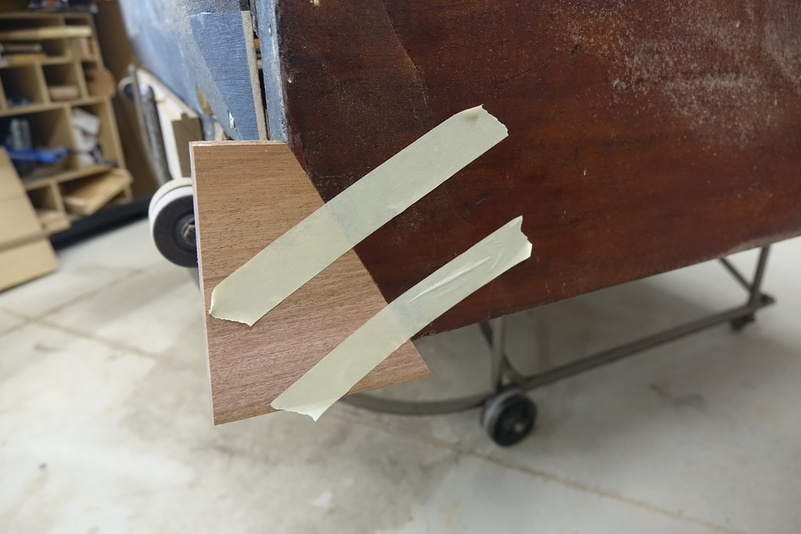
For glue-up, there wasn't a practical way to clamp. I relied on the tight fit and the adhesion of the glue.
The good fit and glue line
The repair after trimming
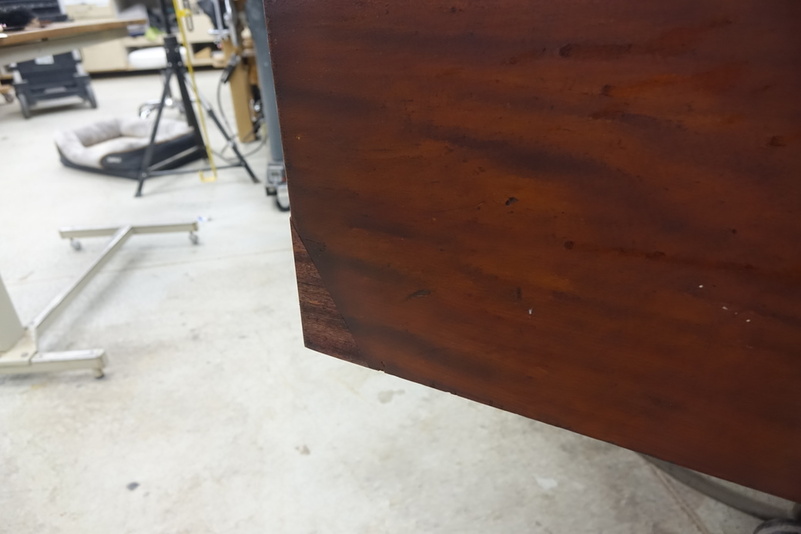
The repair after stain and a light spray of lacquer. With the grain lining up well, this repair will not be noticeable without getting down on the floor to look for it. It gets my passing grade.
Commments
I welcome your comments. You do NOT need to sign in to leave a comment, but if you create an account and sign in, my comment system will notify you of replies to your comment. Thanks for stopping by.--Duane McGuire