A jig for notching piano keytops
Category: Shop ProceduresDate: 2010-01-01

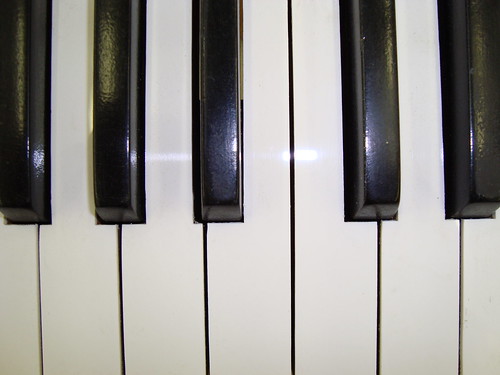
After having done it the hard way, it is such a delight to find the easy way by virtue of someone else’s good thinking! Such is the case with the wonderful jig described below. When applying new key tops to piano keys, the notches surrounding the black keys present a significant challenge. Except for the notches, the sides of the keys can be trimmed flush with a flush trimming router bit, in much the same manner as one would trim plastic laminate on a counter top. But obviously, a flush trimming bit cannot do the notches. When I did piano rebuilding in the 80’s, this issue was handled with a hand held file. It was very tedious work.
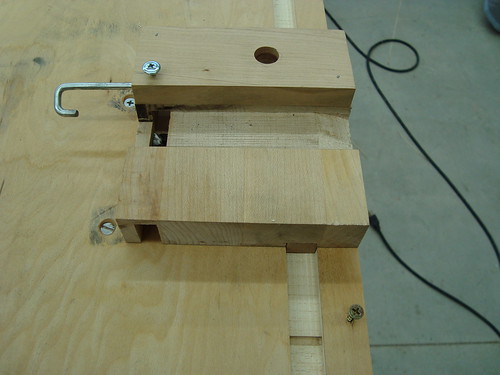
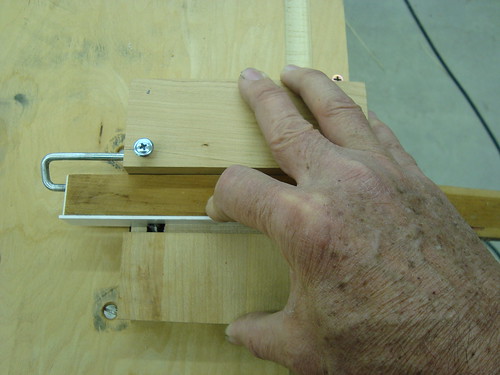
In the June 1991 issue of the Piano Technicians Journal an article by Bill Spurlock describes a router jig for cleaning the notches. The jig below is an implementation of his excellent thinking.

The jig is used once the sides of the key top have been trimmed flush using a flush trimming bit. When trimming, the notch is left untouched, and a perfect notch is acheived with this jig. The router bit is a 1/2″ spiral bit. The stop is 3/16″ steel. When I first fabricated the jig I had no steel in the shop and tried a stop made of 1/8″ brass. The brass flexed resulting in inaccuracies. The 5/8″ hole in the stop was drilled to accept a bench dog for clamping. When I replaced the 1/8″ brass stop with the 3/16″ steel, I found that clamping was no longer necessary.

Commments
I welcome your comments. You do NOT need to sign in to leave a comment, but if you create an account and sign in, my comment system will notify you of replies to your comment. Thanks for stopping by.--Duane McGuire
